7 minute read -
Building a Rabbit Hutch: How to Make a Strong, Safe Hutch Yourself
To build a rabbit hutch yourself, start by drawing a design, then cut sheet material and battens to size and assemble everything with screws, hinges and strong mesh. Give the hutch a solid floor, a waterproof roof and an enclosed sleeping area.
Make the hutch as roomy as you can and combine it with a run, because rabbits need plenty of space to move. A DIY rabbit hutch also lets you choose the size and materials yourself, which is where many shop-bought hutches fall short.
What will you learn in this article?
- How big should a rabbit hutch be?
- What do you need to build a rabbit hutch?
- Which timber and mesh should you use for a rabbit hutch?
- How to build a rabbit hutch in 6 steps
- Where should you put a rabbit hutch in the garden?
- Working safely while you build
- Building or buying a rabbit hutch?
- Common mistakes with a homemade rabbit hutch
- Frequently asked questions about building a rabbit hutch
- In short: building a rabbit hutch
How big should a rabbit hutch be?
Start with the size, because the rest of the design depends on it. A rabbit must be able to stand up fully on its hind legs, stretch out completely and take several hops in a row. Rabbits are social animals and are best kept in pairs. A small hutch of around 120 by 60 by 60 centimetres, a size you often see for sale, is too cramped for that. Use a hutch like that at most as a night shelter, combined with a spacious, secure run.
Animal welfare organisations such as the RSPCA and the Rabbit Welfare Association publish up-to-date guidance on minimum sizes for the hutch and run. Read their advice before you start drawing, and take the breed into account: a large rabbit needs more space and height than a dwarf rabbit.
What do you need to build a rabbit hutch?
Materials
- Exterior-grade plywood or solid, untreated timber for the walls, floor and roof
- Softwood battens for the frame and legs
- Strong welded mesh with small holes
- Hinges and bolts that a rabbit or predator cannot open
- Stainless steel or galvanised screws
- Roof covering, such as roofing felt or corrugated sheets
- Exterior wood glue
- Animal-safe wood stain or paint for the outside
Tools
- Tape measure, pencil and try square
- A circular saw or jigsaw for sheet material and a mitre saw for battens
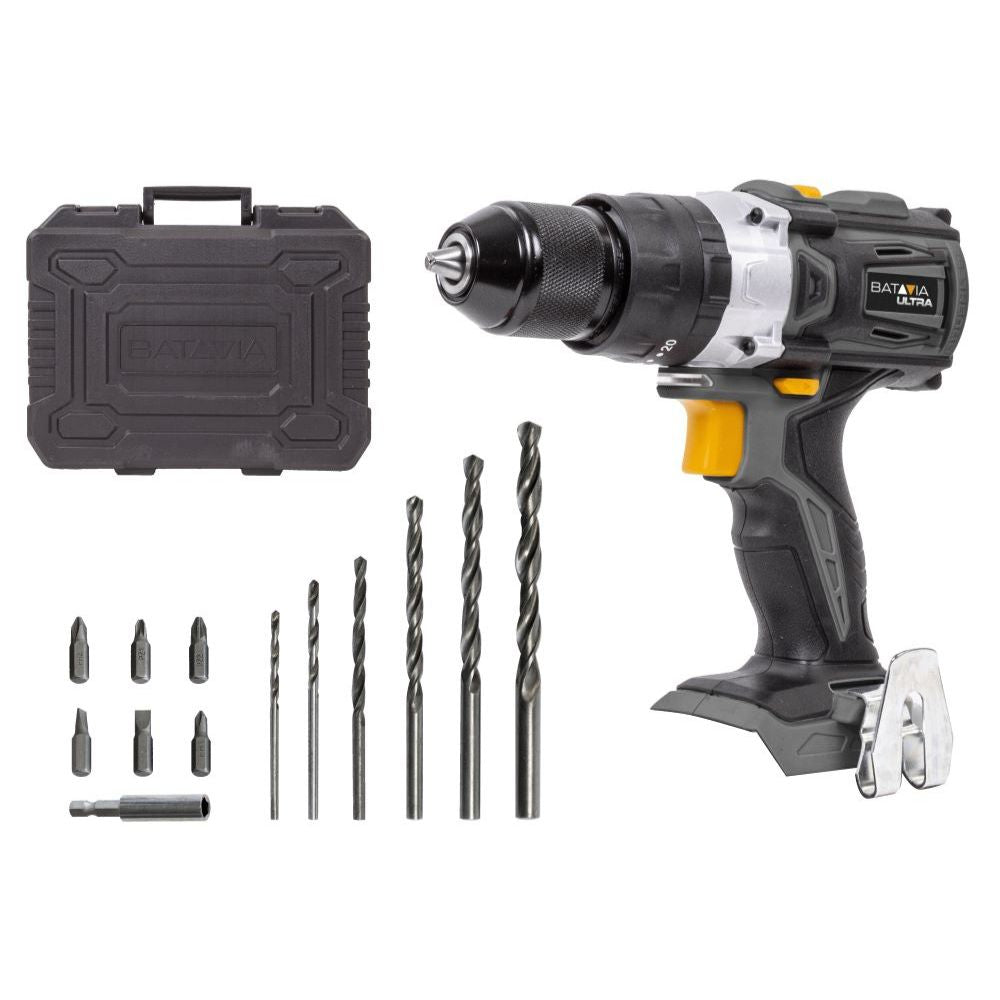
- A cordless drill or drill driver, for example from the Maxxpack 18V range, with wood drill bits
- A sander, or sandpaper in 80 and 120 grit
- Wire cutters for the mesh
- Safety glasses, ear defenders and a dust mask
Which timber and mesh should you use for a rabbit hutch?
Rabbits gnaw at everything they can reach. Use untreated timber on the inside and avoid wood that has been treated with chemical preservatives. Exterior plywood is strong and keeps its shape reasonably well outdoors. Chipboard and MDF soak up water and swell, so they are not suitable for outdoor use.
For the door and ventilation openings, choose strong welded mesh rather than thin chicken wire. A fox can easily tear through chicken wire. Fix the mesh on the inside with screws and washers, with no sharp ends pointing inwards. Do not use mesh as a floor, because it irritates a rabbit's feet.
How to build a rabbit hutch in 6 steps
Draw a design
Draw the hutch on paper with all the measurements. A practical layout has an enclosed sleeping area and a lighter living area with mesh. Put the hutch on legs, so the floor is not standing on damp ground. Let the roof slope towards the back and plan a large door to make cleaning easy.
Cut the timber to size
Mark out all the parts on the sheets and battens. Cut the sheet material with a circular saw along a guide rail, or with a jigsaw. A mitre saw is handy for battens and legs, but is not designed for cutting large sheets. Use a fine-toothed blade for plywood, so the top veneer does not splinter.
Assemble the floor and walls
First make a frame of battens for the floor and screw the floor panel onto it. Then fix the side walls, the back and the front. Drill pilot holes, especially close to the edge of a board, so the timber does not split. Glue the joints with exterior wood glue and fit a partition with a generous opening through to the sleeping area.
Make the mesh door
Make a frame of battens slightly smaller than the door opening. Fix the mesh to the inside and trim the ends short. Hang the door on hinges and fit a bolt. A turn button on its own is not enough, because a fox or a dog can push it open.
Fit the roof
Screw the roof down, or hinge it so it lifts off for easier cleaning. Let the roof overhang a few centimetres at the front and sides. Cover it with roofing felt or corrugated sheets to keep the timber dry.
Finish the hutch
Sand all edges and corners smooth, first with 80 grit and then with 120 grit. Treat only the outside with a stain or paint that is suitable for animal housing or children's toys, and let it air out fully before the rabbits move in. Put straw or hay in the sleeping area.
Where should you put a rabbit hutch in the garden?
Rabbits cope badly with heat. Place the hutch in the shade, out of the strong afternoon sun and sheltered from the wind. Do not put it in a low part of the garden where water collects. In winter an extra layer of straw in the sleeping area helps, but never close the hutch up completely: fresh air is still needed.
Working safely while you build
Wear safety glasses and ear defenders when sawing, and a dust mask when sawing and sanding plywood. Keep your hands clear of the cutting line and wait until the blade has stopped before you pick up the workpiece. Take the battery out of the tool before changing a blade or drill bit. Wear gloves when cutting mesh.
Building or buying a rabbit hutch?
A bought hutch is ready quickly, but many off-the-shelf hutches are small and made from thin timber. Building your own takes more time, but you decide the size, materials and layout. If you already own a saw, a drill and a sander, most of the cost goes on timber and mesh. If you have built a smaller project before, such as a wooden birdhouse, the techniques are much the same.
Common mistakes with a homemade rabbit hutch
- A hutch that is too small and has no run.
- A mesh floor, which gives rabbits sore feet.
- Thin chicken wire that a fox can tear open.
- Treated timber or ordinary paint on the inside, where rabbits gnaw.
- A spot in full sun with no shade.
Frequently asked questions about building a rabbit hutch
What is the best timber for a rabbit hutch?
Exterior-grade plywood for the walls, floor and roof, and softwood battens for the frame. Use untreated timber on the inside, because rabbits gnaw at it. Chipboard and MDF are not suitable for outdoor use.
Can a rabbit hutch have a mesh floor?
No, a solid floor is better for a rabbit's feet. If you want to stop rabbits digging out of a run, lay the mesh below ground level or under a layer of soil, not as a surface they walk on.
How do you make a rabbit hutch fox-proof?
Use strong welded mesh, secure doors and the roof with bolts, and leave no gaps. For a run, bury mesh along the edges so a fox cannot dig underneath.
How often should you clean a rabbit hutch?
Remove wet patches and droppings daily if you can, and change the bedding regularly. Give the whole hutch a thorough clean at regular intervals.
In short: building a rabbit hutch
Start with a spacious design that has a sleeping area, a living area and preferably a run. Cut exterior plywood and battens to size, screw everything together with pilot holes and use strong welded mesh with secure bolts. Put the hutch on legs with a waterproof roof, sand everything smooth and treat only the outside with an animal-safe finish.