8 minute read -
Building a Wooden Veranda: A Step-by-Step Guide from Footings to Roof
You can build a wooden veranda in five main stages: plan it and check if you need permission, set concrete footings, fit the posts and beams, lay the roof deck with enough fall, then add the roof covering. With some basic woodworking experience, decent tools and a second pair of hands, it is a realistic project.
For a large or heavy roof, ask a structural engineer to size the beams.
What will you learn in this article?
- Do you need planning permission for a veranda?
- How do you plan a veranda?
- Which timber should you use for a veranda?
- What materials do you need?
- Which tools do you need?
- Step-by-step: building the veranda
- Which roof covering should you choose?
- Finishing off the veranda
- How long does it take to build a veranda?
- Working safely on a veranda
- How do you maintain a wooden veranda?
- Frequently asked questions about building a veranda
- In short: building a wooden veranda
Do you need planning permission for a veranda?
It depends on where it goes, how big it is and the rules that apply to your property. A veranda in the back garden often falls under permitted development if it stays within certain size and height limits, but that is not always the case. Listed buildings, properties in a conservation area and structures facing the road usually need consent. Check with your local council before you buy any materials, and ask whether Building Regulations apply to your design. Even when no permission is needed, the structure must be safe, and there may be rules about how close you can build to the boundary. It is also worth talking your plans through with the neighbours.
How do you plan a veranda?
Decide where the veranda will go and what you want to use it for. Think about:
- Sun and shade: a south-facing veranda keeps the sun off, but it also makes the room behind it darker.
- Wind: on the windward side, a side wall or screen can make a big difference.
- Drainage: the roof should slope away from the house towards the side where the guttering and downpipe will go.
- Wall-mounted or freestanding: fixed to the house you need fewer posts; freestanding gives you more freedom over where it goes.
Draw a scale sketch with measurements, showing where the posts, beams and roof fall will be. Your materials list follows from that drawing.
Which timber should you use for a veranda?
For the posts and beams, use timber that lasts outdoors. Douglas fir and pressure-treated softwood are common, affordable choices. Hardwood or glulam beams cost more, but they are stronger and stay straighter over longer spans.
How deep the beams need to be depends on the span, the spacing between them and the weight of the roof. Span tables exist for this, and if you are unsure a structural engineer can work it out for you. Do not guess the sizes.
What materials do you need?
- Posts, beams and roof joists (rafters)
- Precast concrete pads or concrete to cast footings, plus post anchors or steel base plates
- A wall plate and suitable anchors if you are fixing it to the house
- Roof decking (such as exterior-grade plywood or OSB) or roof sheets
- Roof covering, roof trim, guttering and a downpipe
- Galvanised or stainless steel screws, coach bolts and joist hangers
- Exterior wood stain or paint
Which tools do you need?
- A mitre saw for square and angled cuts in the beams
- A circular saw for sheet material and long cuts
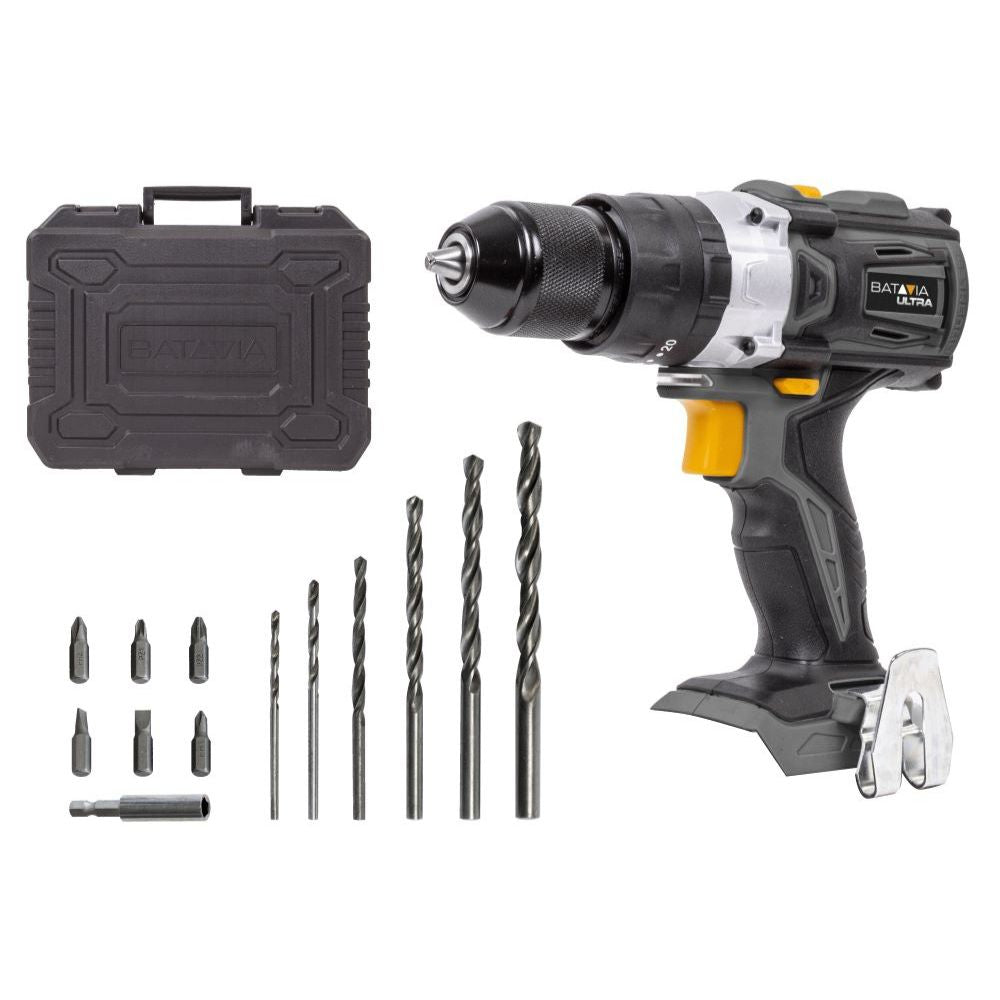
- A drill and a drill driver, and ideally an impact driver for heavy bolts
- Spirit level, folding rule, tape measure, square, pencil and a plumb line or laser level
- Spade and wheelbarrow for the footings
- A stable ladder or scaffold tower
If you use cordless tools, it helps to have everything on one battery platform, such as the Maxxpack 18V range. That way you do not need extension leads trailing across the garden.
Step-by-step: building the veranda
Set out and dig the footings
Use pegs and a string line to mark where the posts will stand. Measure the diagonals: if they are equal, your layout is square.
Dig a hole for a concrete footing at each post position. The bottom needs to sit below frost level on firm ground. In the UK, around 450 mm is a common minimum, and clay soils need to go deeper, so check with your local Building Control if you are unsure. Put a layer of gravel or compacted hardcore in the bottom, set the pad or pour the concrete, and check it is level.
Do not set the timber straight into the concrete. Wood that stands in concrete or soil stays wet and rots at the base. Use a post anchor or steel base plate, so the post starts a few centimetres above ground level. Let the concrete cure before you put any load on the posts, following the drying time on the bag.
Fit the posts and beams
Cut the posts to length, allowing for the roof fall: the posts on the low side are shorter. Fix them into the anchors and brace them temporarily with battens so they stay plumb.
Lay the beams on top of or against the posts and fix them with coach bolts. Knee braces in the corners between post and beam stiffen the frame and stop it swaying. Check each stage with the spirit level.
Measure twice and cut once. A mitre saw gives square cuts, so the joints fit tightly.
Fix the veranda to the house wall
If the veranda is attached to the house, a wall plate goes along the wall. Fix it with anchors that suit the masonry, such as sleeve anchors or chemical anchors in solid brick or block. With a cavity wall, do not drill into the mortar joints without knowing what is behind them, and ask for advice if you are unsure. Check for pipes and cables in the wall before you drill. The roof joists are then fixed to the wall plate with joist hangers.
Lay the roof with enough fall
A flat roof always needs a fall, otherwise water sits on it and the covering wears out faster. For EPDM and felt, a fall of roughly 1.5 to 2 cm per metre is a common guideline, but always follow the roof covering manufacturer's instructions.
Lay the roof joists at the correct spacing and screw the decking on top. Make sure the joints between boards land on a joist. Cut the decking to size beforehand with a circular saw run along a guide.
Which roof covering should you choose?
| Roof covering | Advantages | Watch out for |
|---|---|---|
| EPDM | Long-lasting, one layer with no joints, light | The surface underneath must be smooth and clean |
| Roofing felt | Affordable, familiar | Torch-on felt is a job for a professional |
| Polycarbonate sheets | Lets light through | Allow room for expansion and use the right screws |
| Corrugated sheets | Quick to lay | Old corrugated sheets may contain asbestos |
| Roof tiles | Matches the house | Heavy, needs a pitched roof and an engineer's calculation |
Once the roof covering is on, fit the roof trim, guttering and downpipe.
Finishing off the veranda
Finish the veranda
Treat all the timber with exterior stain or paint, including the end grain. Apply several coats if the instructions say so. After that you can add lighting, side walls, screens or glass sliding panels. If you close the veranda in on several sides, make sure there is ventilation so damp does not build up. Outdoor electrics must meet the regulations, so have a qualified electrician do the work if you have any doubt.
How long does it take to build a veranda?
That depends on the size, the type of roof and how much help you have. Remember to allow for the concrete curing time. Most of the time goes into setting out, digging the footings and getting everything level.
Working safely on a veranda
- Wear safety glasses and ear defenders when cutting, and work gloves when carrying timber.
- Lift beams with two people and secure them temporarily straight away.
- Stand a ladder on firm, level ground, and use a scaffold tower for higher roofs.
- Do not work on the roof in rain, wind or icy conditions.
How do you maintain a wooden veranda?
Check the stain or paint every year and touch up any areas where the wood is turning grey or bare. Clean the guttering, especially in autumn; our guide on how to clean gutters safely explains how. Check that bolts and screws are still tight and that water is not pooling anywhere on the roof.
Frequently asked questions about building a veranda
Can I build a veranda without planning permission?
Often you can if it is in the back garden and stays within certain size limits. The rules vary by property and location, so always check with your local council first, especially for listed buildings and conservation areas.
Can I set the posts directly in concrete?
It is better not to. Timber in concrete stays damp and rots at the base. Use a post anchor or base plate so the post stands clear of the ground.
Which roof is easiest to lay yourself?
EPDM and polycarbonate sheets are manageable for most DIYers. Torch-on felt and roof tiles are better left to a professional.
How many posts do I need?
That depends on the width and the span your beams can handle. A veranda fixed to the house only needs posts along the front. For larger spans, have the post spacing calculated.
In short: building a wooden veranda
Check permission first, make a scale drawing and have the beam sizes calculated if in doubt. Stand the posts on concrete footings with anchors rather than in the concrete, give the roof a fall and choose a covering that suits the roof pitch. With square cuts and everything properly level, your veranda will last for years.