6 minute read -
Sanding Wood: Which Sander Should You Choose for Woodworking?
For heavy work on large, flat pieces of timber, such as beams or old layers of paint, use a belt sander. A random orbit sander is the best all-rounder for both coarse and fine sanding, and an orbital sander gives flat surfaces a fine finish. Start with a coarse grit, such as P40 to P80, and work up in stages to P120 to P180 for a smooth result.
The right choice for sanding wood depends on how much material you need to remove and how fine the finish has to be. The sections below cover each type of sander, the grits to use and how to sand beams.
What will you learn in this article?
- Which types of sander are there for wood?
- How do you sand wooden beams?
- Which grit of sandpaper should you use for wood?
- Should you sand with or against the grain?
- Which features are useful on a sander?
- What are the most common mistakes when sanding wood?
- Sanding wood safely
- Frequently asked questions about sanding wood
- In short: sanding wood
Which types of sander are there for wood?
| Sander | Movement | Best for | Less suited to |
|---|---|---|---|
| Belt sander | Continuous belt running in one direction | Removing a lot of timber or paint quickly, beams, old paint | Fine finishing, small parts |
| Random orbit sander | Spins and makes small orbits at the same time | Coarse and fine sanding, also curved surfaces | Corners and narrow edges |
| Orbital sander | Small vibrating movements with a rectangular pad | Fine finishing of flat surfaces, right into square corners | Removing a lot of material quickly |
| Detail or multi-sander | Vibrating triangular pad | Corners, edges, window frames and mouldings | Large surfaces |
When should you choose a belt sander?
A belt sander removes a lot of timber or paint very quickly. It suits rough beams, old boards and thick layers of varnish. Because it is so aggressive, you can easily dig a hollow if you tilt it or stay in one place too long. Keep the sander flat and keep it moving.
When should you choose a random orbit sander?
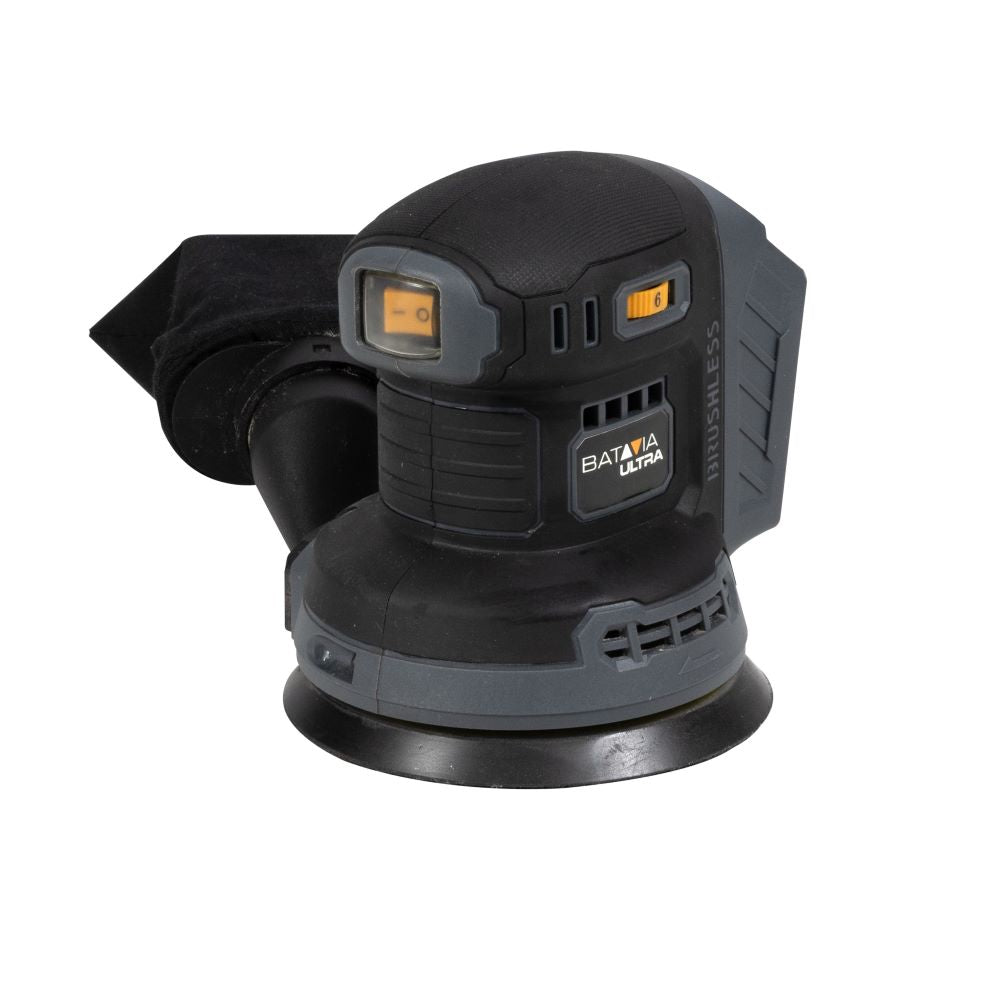
A random orbit sander combines a spinning and an orbiting movement. That makes it faster than an orbital sander, and it leaves very few scratches. With a coarse grit it strips paint, and with a fine grit it makes wood smooth for varnish. For most woodworking jobs it is the most versatile choice.
When should you choose an orbital sander?
An orbital sander is calmer and easy to control. Its rectangular pad lets you get close to an edge or into a square corner. It is not designed to remove a lot of material, but it is very good for the final passes on flat parts, such as the sides of a beam or a plank.
How do you sand wooden beams?
- Check the beam for nails, staples and screws, and remove them or punch them below the surface. Metal tears your abrasive and can cause sparks.
- Sand rough or dirty beams first with a belt sander and a coarse grit, working along the length of the beam.
- Then use a random orbit or orbital sander with a medium grit to remove the scratches from the first pass.
- Finish edges and corners with a detail sander or by hand.
- Remove all the dust from the beam before you apply stain, varnish or oil.
For ceiling beams, work from a sturdy platform or stepladder. A cordless sander, for example from the Maxxpack 18V range, saves you a cable getting in the way.
Which grit of sandpaper should you use for wood?
| Job | Grit |
|---|---|
| Removing old paint or varnish, levelling rough timber | P40 to P80 |
| Smoothing the wood, removing scratches from the coarse pass | P80 to P120 |
| Fine sanding before stain, oil or varnish | P150 to P180 |
| Light sanding between coats of varnish | P240 or finer |
Do not skip too many grits. If you go straight from P40 to P180, the deep scratches from the coarse grit will still show. Work in stages, for example P60, P100, P150. How fine you finish depends on the coating, so check the tin of stain or varnish for the manufacturer's advice.
Should you sand with or against the grain?
With a belt sander and when sanding by hand, always work in the direction of the grain. Sanding across the grain leaves scratches that show up clearly once the wood is varnished. A random orbit sander leaves few directional scratches thanks to its circular movement, but you still get the best result by sanding in strips along the length of the wood.
Which features are useful on a sander?
- Dust extraction: a dust bag or a port for a vacuum keeps the abrasive clean for longer and the air cleaner.
- Variable speed: low for softwood, varnish and edges, higher for heavy work.
- Hook-and-loop pad: you can change sanding sheets in a few seconds.
- Grip and weight: when working for a long time or overhead, every kilo counts.
Cordless or corded sander?
A cordless sander is handy where there is no socket, on a ladder or outdoors. For hours of continuous sanding you will need several batteries, or you can choose a corded model. Run time depends on the sander, the battery capacity and how hard you work it, so check the specifications of your tool and keep a charged spare battery to hand for bigger jobs.
What are the most common mistakes when sanding wood?
- Pressing too hard. Let the weight of the sander do the work, otherwise the motor labours and you sand unevenly.
- Staying in one spot, especially with a belt sander. That creates hollows.
- Carrying on with worn abrasive. It gets hot, burns the wood and stops cutting.
- Not removing the dust between grits. Loose grit from the previous pass makes new scratches.
- Starting with too fine a grit on a rough surface. It costs a lot of time and paper.
Sanding wood safely
Wear a dust mask rated at least FFP2, safety glasses and ear defenders. Wood dust, particularly from hardwood and MDF, is harmful to your lungs. Vacuum dust up rather than blowing it away. Unplug the sander or remove the battery before you change the abrasive.
If you are sanding old paint in an older home, especially one built before 1992, it may contain lead. Test the paint first, or strip it wet or with a chemical paint stripper so no dust is released. Do not sand old treated timber such as railway sleepers indoors.
Frequently asked questions about sanding wood
What is the difference between an orbital sander and a random orbit sander?
An orbital sander vibrates with a rectangular pad and reaches into corners. A random orbit sander spins and orbits at the same time, sands faster and leaves fewer scratches, but cannot reach into square corners.
Can I sand beams with a random orbit sander?
Yes. For beams that are only lightly soiled or already fairly smooth, a random orbit sander works well. If the beams are very rough or have a thick layer of paint, start with a belt sander.
How smooth should wood be before varnishing?
Usually you sand up to P150 or P180. Sanding too fine can stop stain soaking in properly. Follow the advice on the tin of varnish or stain.
How often should I change the sandpaper?
Change it as soon as it cuts less well, clogs up or gets hot. When you are removing paint this happens sooner than on bare wood.
In short: sanding wood
Choose a belt sander for rough, heavy work on beams and thick paint, a random orbit sander as your all-rounder, and an orbital or detail sander for fine work and corners. Sand in stages from coarse to fine, follow the grain and always use dust extraction and a dust mask.