7 minute read -
How to Make Your Own Bookshelf: From Design to Wall Fixing
You can make a bookshelf in an afternoon: cut the boards to size, sand the edges, assemble the unit with wood glue and screws, and finish it with paint, stain or oil. Choose boards at least 18 mm thick and keep the unsupported span short, so the shelves do not sag under the weight of books.
Always fix a bookcase to the wall, whether it stands on the floor or hangs. Below you will find what you need, which wood to choose and how to build your DIY bookshelf in seven steps.
What will you learn in this article?
- What do you need to make a bookshelf?
- Which wood should you choose for a bookshelf?
- How thick and how long can the shelves be?
- How to make a bookshelf in 7 steps
- How do you fix a bookshelf to the wall?
- How do you make a bookshelf without visible screws?
- Frequently asked questions about making a bookshelf
- In short: making a bookshelf
What do you need to make a bookshelf?
Materials
- Boards (solid wood, plywood or laminated timber board)
- Wood glue
- Wood screws, long enough to bite well into the second board
- Sandpaper in 80, 120 and 180 grit
- Paint, wood stain, varnish or oil
- Wall fixings: wall plugs, screws or an anti-tip kit suited to your wall
Tools
- Tape measure, pencil and try square
- Mitre saw or circular saw (a handsaw and mitre box will also do)
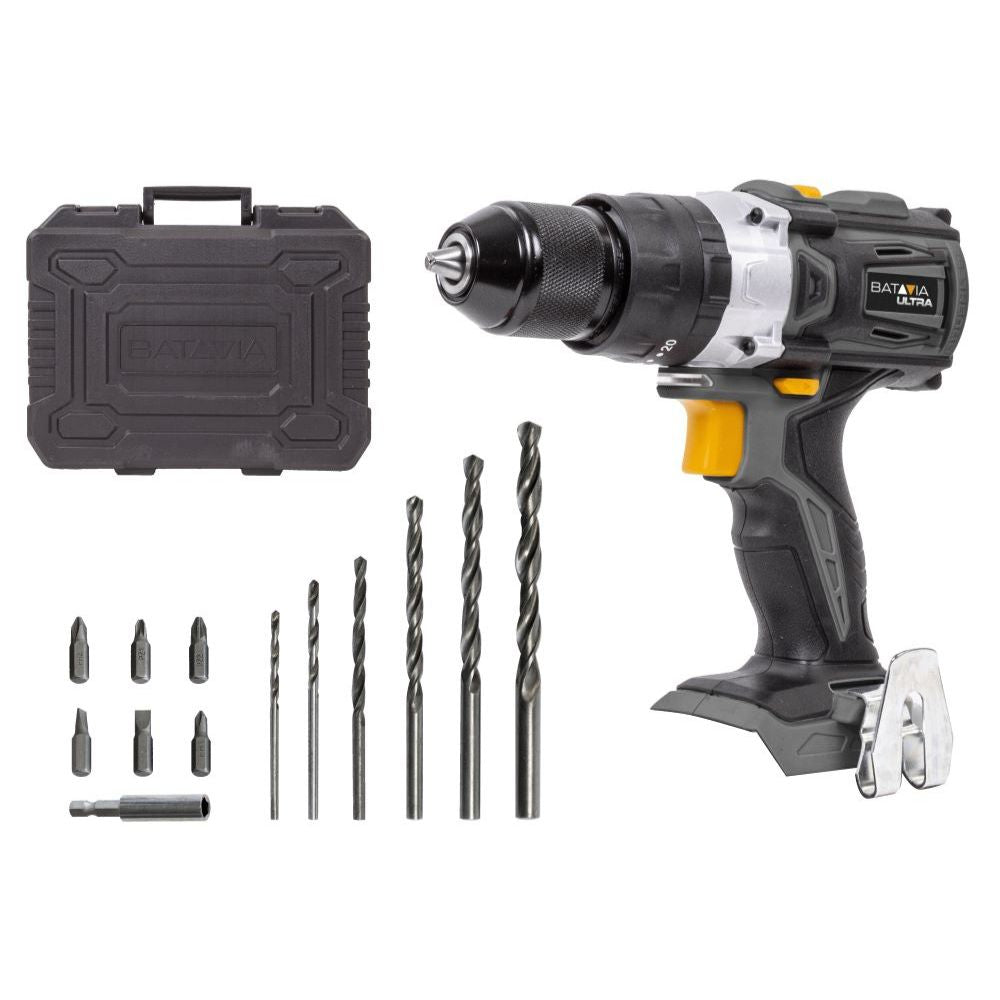
- Drill driver with wood drill bits and a countersink bit
- Sander or sanding block
- Clamps
- Spirit level
- Cable and pipe detector
- Safety glasses and hearing protection
A sliding mitre saw from the Maxxpack 18V range cuts the boards to length quickly and squarely. A cordless drill driver from the same platform runs on the same battery.
Which wood should you choose for a bookshelf?
| Material | Advantages | Watch out for |
|---|---|---|
| Pine or spruce | Cheap, light, easy to work | Soft, scratches easily, sags sooner |
| Oak or other hardwood | Strong, attractive, sags very little | More expensive, heavier, needs pilot holes |
| Plywood | Stable, strong, hardly warps | Edges visible, finish with edging tape or a strip |
| Laminated timber board | Straight and wide, looks good | Slightly less strong than solid wood of the same species |
| MDF | Smooth, easy to paint | Heavy, sags under load, edges soak up paint |
For a bookshelf that has to carry a lot of weight, choose solid wood or plywood. MDF and chipboard eventually sag if the shelves are long.
How thick and how long can the shelves be?
Books are heavy. A full shelf will sag over time if the span is too wide or the board too thin. A few rules of thumb:
- Thickness: at least 18 mm. For long shelves or heavy books, preferably 22 mm or more.
- Span: keep the free distance between two supports limited, roughly 60 to 80 cm for an 18 mm shelf. With MDF or chipboard, stay at the shorter end of that range.
- Depth: 20 to 25 cm is enough for ordinary books. Any deeper and it quickly becomes a place to pile things.
- Space between shelves: measure your tallest books and add a few centimetres.
If you want a longer unit, add a central divider or fix a batten under the back edge of the shelf. A plywood back panel also makes the whole unit much stiffer.
How to make a bookshelf in 7 steps
Design and measurements
Draw your unit on paper with all the measurements. Decide on the outside dimensions, the number of shelves and the spacing between them. Make a cutting list: which parts you need and how long each piece is. Allow for the thickness of the wood: for a unit 80 cm wide with 18 mm sides, the shelves will be 76.4 cm long.
Measure and mark
Measure each dimension and mark it with a pencil and try square. Put a cross on the waste side of the line, so you know which side the blade should run.
Cut
Hold the board firmly against the fence of the mitre saw and cut on the waste side of your line. Cut parts that need to be the same length using a fixed stop block, so they come out exactly equal. Use a fine wood blade with a high tooth count for a clean edge. Keep your hands well clear of the blade and wait until it has stopped before you remove the workpiece.
Sand
First sand the cut edges with 80 or 120 grit, then all the faces with 120 grit and finally with 180 grit. Lightly round off sharp edges. Sand in the direction of the grain. A sander is quicker and gives a more even result than sanding by hand.
Assemble
Dry fit the parts and check that everything fits. Apply wood glue to the joints and hold the parts together with clamps. Drill pilot holes slightly narrower than the screw, countersink them and drive in the screws, so the wood does not split. Check that the unit is square with a try square, or measure both diagonals: they should be the same length. Our guide to drilling straight holes in wood has more tips on accurate pilot holes.
Let it dry
Let the glue cure as directed on the packaging. Wipe away any squeezed-out glue straight away with a damp cloth, because dried glue will not take stain.
Finish
Choose paint, stain, varnish or oil. Make sure the unit is free of dust first. Apply thin coats and sand lightly with 240 grit between coats. Let the finish harden fully before you put books on the shelves, otherwise they may stick.
How do you fix a bookshelf to the wall?
A bookcase full of books is heavy and can tip forwards. Always fix it to the wall with an anti-tip kit or a couple of brackets at the top. For a floating wall shelf, use sturdy shelf brackets or a concealed fixing.
- Check for cables and pipes first with a cable and pipe detector. Never drill directly above or below sockets and switches, as cables often run vertically from them.
- Choose the right wall plug for your wall: a general-purpose plug for brick and concrete, a cavity wall fixing for plasterboard. For heavy loads on plasterboard, fix into a stud wherever possible.
- Use a spirit level before you mark the holes.
How do you make a bookshelf without visible screws?
There are a few neat alternatives to screws on the outside:
- Dowels: wooden pins glued into pre-drilled holes.
- Pocket hole joints: angled screw holes on the underside or back, drilled with a special jig.
- Shelf supports in the side panels: handy if you want adjustable shelves.
- Countersink and fill the screws: with wood filler or wooden plugs, then paint over them.
Frequently asked questions about making a bookshelf
How long does it take to make a bookshelf?
Cutting, sanding and assembling a simple unit can be done in an afternoon. Allow extra drying time for the glue and the finish, often a day or two before the varnish or paint is properly hard.
Can I make a bookshelf without a mitre saw?
Yes. With a handsaw and mitre box, or a circular saw run along a guide, you can also make straight cuts. You can also have boards cut to size at a timber merchant. A mitre saw does make the job quicker and the cuts squarer.
Why is my bookshelf sagging?
The shelf is too thin for the span, or the material is too flexible, such as MDF or chipboard. Add an extra support in the middle, screw a batten under the back edge or choose a thicker shelf in solid wood or plywood.
Do I really need to fix a bookcase to the wall?
Yes. A tall bookcase full of books can tip over if someone pulls on it or climbs on it, a child for example. An anti-tip kit or a bracket fixed to the wall costs little and prevents accidents.
In short: making a bookshelf
Choose solid wood or plywood at least 18 mm thick and keep the span between supports to roughly 60 to 80 cm. Cut the parts square, sand them, then glue and screw the unit together and check it for square before the glue sets. Finish it in thin coats and always fix the bookcase securely to the wall.