7 minute read -
How to Install a Programmable Thermostat Yourself
You can usually install a programmable thermostat yourself in about an hour: isolate the power, unscrew the old thermostat, transfer the wires, fix the new backplate to the wall and set up a heating schedule. Before you buy, check that the thermostat works with your boiler (simple on/off control or OpenTherm).
A cordless drill driver and a multi-tool handle most of the physical work. The part that needs real care is the wiring, so read the safety notes below before you start.
What will you learn in this article?
- Why fit a programmable thermostat?
- Which thermostat works with your boiler?
- What tools do you need?
- Step by step: replacing a thermostat
- How do you set up a programmable thermostat?
- Common installation mistakes
- What if the new thermostat doesn't work?
- Frequently asked questions about installing a programmable thermostat
- In short: installing a programmable thermostat
Why fit a programmable thermostat?
A programmable thermostat lets you decide in advance when the house should be warm. The heating might come on at 6:30, drop back when everyone has gone out and fall to the night-time temperature in the evening. You no longer have to remember to adjust it.
The main benefits:
- Lower energy use: the boiler isn't heating an empty house. How much you save depends on your home, your insulation and how you heat it now.
- More comfort: the house is warm when you get up or come home.
- Convenience: many models can be controlled through an app over Wi-Fi, even when you're away.
- More control: you can set different temperatures for different times of day and different days of the week.
Which thermostat works with your boiler?
This is the most important check before you buy anything. Broadly, a thermostat talks to a boiler in one of two ways:
| Type of control | How it works | Watch out for |
|---|---|---|
| On/off | The thermostat switches the boiler on or off | Works with almost any boiler, less precise control |
| OpenTherm (modulating) | The thermostat tells the boiler how much heat is needed | Boiler and thermostat must both support OpenTherm |
Check the boiler manual or the data plate to see which protocol it supports. Some thermostats run on low voltage through two thin wires, but many wired room thermostats in UK homes run at mains voltage (230 V), often via a wiring centre. If you see thicker cables, three or more cores, or you're not sure which type you have, ask a qualified electrician or heating engineer to do the job.
What tools do you need?
- The new thermostat with its instructions and fixings.
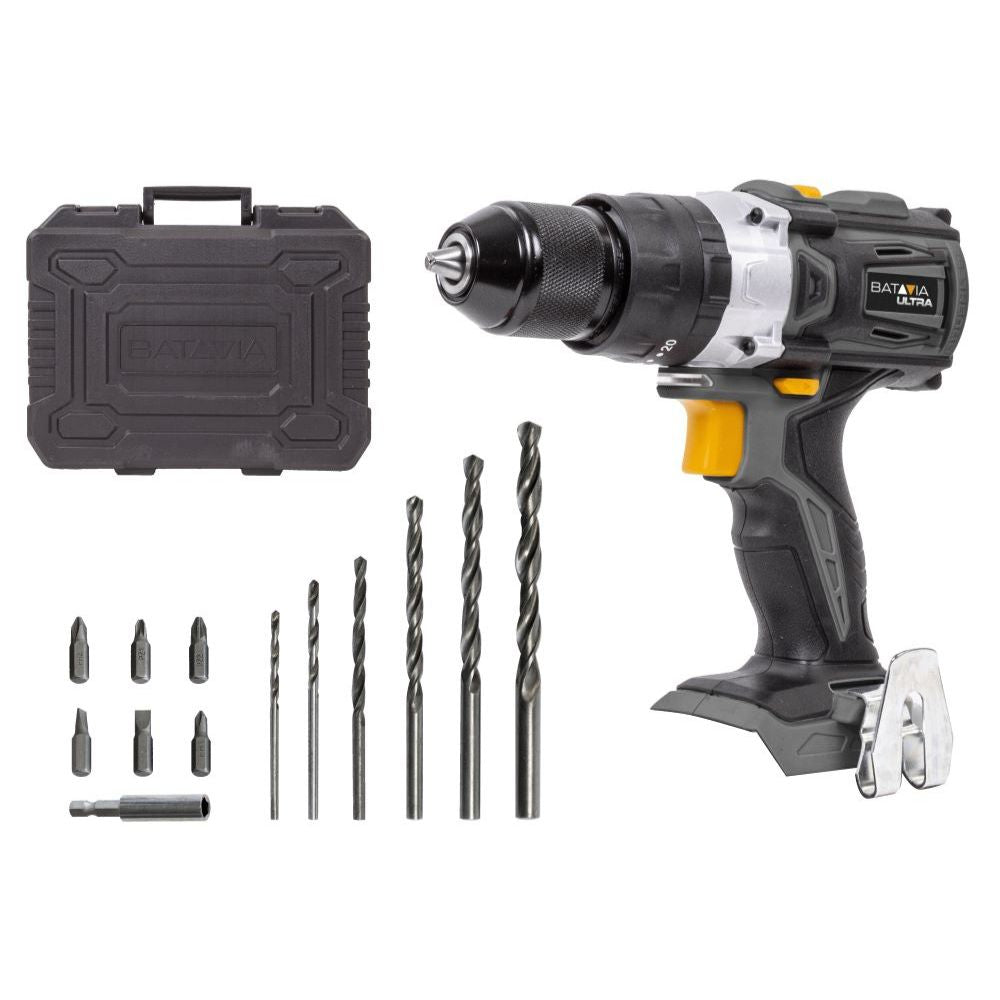
- A cordless drill driver, for example from the Maxxpack 18V range, to drill the holes and screw the backplate in place. Use a masonry bit in brick or block; for hard concrete walls a hammer drill or rotary hammer is easier.
- A multi-tool: useful if the old cable opening doesn't line up with the new backplate, or to trim a section of skirting board or trunking.
- A small screwdriver for the wire terminals.
- A voltage tester to confirm the circuit is dead.
- Spirit level, pencil, wall plugs and screws.
- Your phone to photograph the old wiring.
If you're not sure which drill to use on a concrete wall, our guide to rotary hammer vs hammer drill explains the difference.
Step by step: replacing a thermostat
Isolate the boiler and thermostat
Switch off the boiler at its fused spur or unplug it if it has a plug. If your current thermostat is mains-powered or on its own circuit, switch that circuit off at the consumer unit as well. Check with a voltage tester that there really is no power. If the thermostat runs on batteries, take those out too.
Remove the old thermostat
Unclip or unscrew the front of the old thermostat so you can see the terminals. Take a photo showing which wire goes to which terminal, or label each wire with a piece of tape. Then loosen the terminals and unscrew the old backplate from the wall.
Prepare the wall
Hold the new backplate against the wall and level it. The usual height is around 1.5 metres, on an internal wall away from draughts, direct sunlight and heat sources such as a radiator or lamp. Mark the screw holes. If the new holes fall too close to the old ones, move the backplate a few centimetres or fill the old holes first. If the cable opening needs to be bigger or neater, tidy it up with the multi-tool.
Drill and fix the backplate
Drill the holes at the right diameter for your wall plugs. Set the drill driver to drill mode and start at a low speed until the bit has bitten into the surface. Push in the plugs and screw the backplate in place. Don't overtighten the screws, or the plastic backplate will warp.
Connect the wires
Connect the wires following the diagram in the new thermostat's instructions. With two wires the order often doesn't matter, but this varies between brands, so always check the manual. Tighten the terminals and give each wire a gentle tug to make sure it's held firmly.
Restore power and test
Clip the thermostat onto the backplate, fit batteries if needed and switch the boiler back on. Set the temperature a few degrees above the current room temperature. After a short while the boiler should fire up.
How do you set up a programmable thermostat?
Start with a simple schedule and fine-tune it later:
- Morning: heating up to your daytime temperature about half an hour before you get up.
- Out during the day: a few degrees lower.
- Evening: back to the daytime temperature around the time you get home.
- Night: down to the night-time temperature an hour before bed.
When you go on holiday, use the holiday or away mode rather than switching the thermostat off completely. That way the pipes are protected if there's a frost.
Common installation mistakes
- Not photographing the old wiring, so you end up guessing.
- Buying an OpenTherm thermostat for a boiler that only supports on/off control.
- Fitting the thermostat next to a radiator, in direct sun or near an outside door, so it reads the wrong temperature.
- Leaving the power on, which can cause a short circuit or damage the boiler's circuit board.
What if the new thermostat doesn't work?
If the boiler doesn't fire up, isolate everything again and check that the wires are on the correct terminals and properly tightened. Check that the batteries are fresh and whether the boiler is showing a fault code. On some boilers you need to select OpenTherm or on/off control in the menu. If that doesn't solve it, go back to the manual or contact a qualified heating engineer.
Frequently asked questions about installing a programmable thermostat
Can I replace a heating thermostat myself?
A low-voltage or battery-powered thermostat is usually a straightforward DIY job, because you're working on a thin control wire rather than the mains. If your thermostat is wired at mains voltage, or you're unsure about the wiring, a qualified electrician or heating engineer is the safest choice.
How long does it take to install a thermostat?
Allow about an hour to fit and connect it. If you need to run new cable or make good the wall, it takes longer. Setting up the schedule adds another 15 minutes or so.
Can I reuse the old holes in the wall?
Sometimes, if the new backplate has the same hole spacing. Usually it's different. In that case fill the old holes and drill new ones, or shift the backplate slightly so the holes don't overlap.
Does a programmable thermostat really save money?
You save most if you currently leave the heating on when nobody is home or overnight. Exactly how much depends on your house and how you heat it. If you're already careful with your heating, the difference will be smaller.
In short: installing a programmable thermostat
Replacing a programmable thermostat takes about an hour. Check first that the thermostat suits your boiler, isolate the power, photograph the old wiring and fit the new unit somewhere free of draughts and heat sources. A drill driver and a multi-tool do the rest, and a qualified engineer can step in if the wiring is mains voltage or unclear.