7 minute read -
Replacing Sealant in the Bathroom and Kitchen: How to Get a Neat, Watertight Joint
To replace old sealant, cut the old bead out completely, make sure the joint is free of mould, dry and grease-free, and then apply new sanitary silicone. Smooth the bead straight away with a sealant spatula and soapy water, and pull off the masking tape before the sealant skins over. Let the silicone cure for the time given on the cartridge before you use the shower or bath again.
Replacing silicone sealant in a bathroom or kitchen is a job most people can do in an afternoon, plus curing time. The result depends almost entirely on the preparation: new sealant on a clean, dry joint lasts for years, while sealant on old residue or damp surfaces starts to lift within weeks.
What will you learn in this article?
- When should you replace sealant?
- What do you need to replace sealant?
- Which sealant should you use in the bathroom and kitchen?
- How to replace sealant step by step
- Working safely with sealant
- Common mistakes when replacing sealant
- Frequently asked questions about replacing sealant
- In short: replacing sealant
When should you replace sealant?
Sealant in bathrooms and kitchens has a hard life, with constant water, soap and heat. Replace it when you see any of the following:
- Black or grey mould that no longer comes off with cleaning.
- Sealant coming away from the tiles, the bath or the worktop.
- Small cracks or gaps in the bead.
- Discoloured, hard or crumbly sealant.
Loose or cracked sealant is more than a cosmetic problem. Water can run behind the tiles or under the worktop, where it causes damage and mould that you only find much later.
What do you need to replace sealant?
- A sealant gun and a cartridge of new sealant
- A sharp utility knife or a sealant removal tool
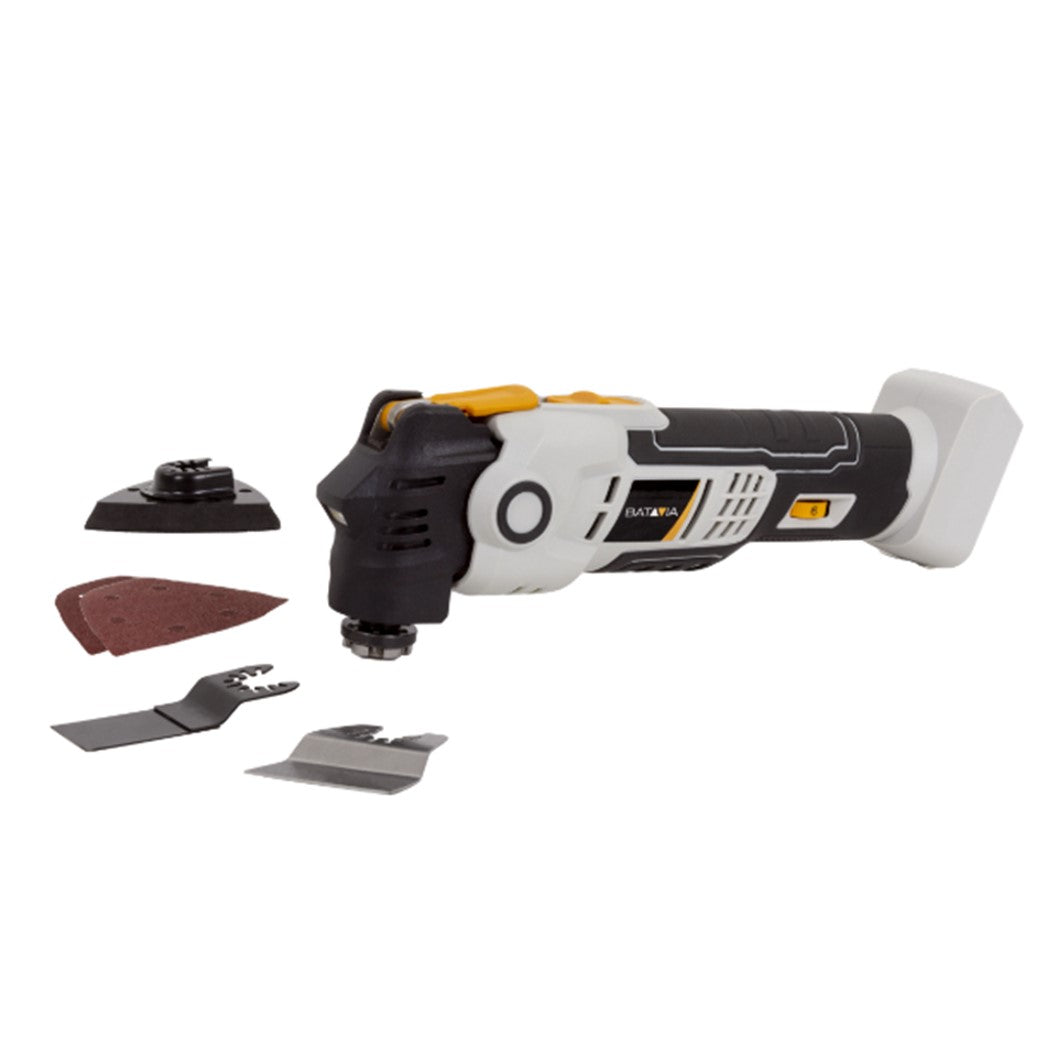
- A multi-tool with a scraper or cutting blade (handy for long joints)
- Sealant remover for the last residue
- Mould remover or a bleach-based cleaner
- A degreaser such as methylated spirits
- Masking tape
- A sealant spatula and a plant mister filled with soapy water
- Gloves and safety glasses
- Clean cloths
Which sealant should you use in the bathroom and kitchen?
| Sealant | Where | Properties |
|---|---|---|
| Sanitary silicone | Shower, bath, basin, worktop around the sink | Waterproof, flexible, mould-resistant, cannot be painted |
| Acrylic sealant (decorator's caulk) | Dry joints you want to paint, such as along skirting boards and window frames | Paintable, not suitable for areas that get wet |
| Hybrid or MS polymer sealant | Places where you want strong adhesion and the option to paint | Sticks to many surfaces, often paintable |
For wet areas, choose sanitary silicone. It stays flexible and contains a fungicide that slows down mould. Acrylic sealant is not designed for places that get wet every day.
How to replace sealant step by step
Remove the old sealant
Cut along both sides of the old bead, against the tile and against the bath or worktop, with a sharp knife or a sealant removal tool. Then pull the strip of sealant out in one piece if you can. On long joints a multi-tool with a cutting blade is quicker, for example a multi-tool from the Maxxpack 18V range. Take care on acrylic baths, shower trays and other plastics: a knife or scraper blade scratches these surfaces easily.
Remove the sealant residue
After pulling out the bead, a thin film of sealant usually stays behind. New silicone does not stick well to it. Apply a sealant remover as directed on the pack, leave it to work and then scrape the residue away with a plastic scraper or a cloth. Do not sand tiles, enamel or acrylic, as you will damage the surface.
Treat mould and let the joint dry
If there was mould behind the old sealant, treat the joint with a mould remover or a bleach-based product. Rinse it off and let the joint dry completely. Open the window or switch on the extractor fan and ideally leave it overnight. Sealant applied to a damp surface soon comes loose again.
Degrease and mask
Wipe the edges with methylated spirits or a degreaser. Then apply masking tape on both sides of the joint, a few millimetres from the gap. This gives you a neat, even bead.
If you are sealing along a bath, fill the bath with water first. The weight makes the bath settle slightly. Sealing it in that position means the joint is less likely to tear when someone gets in later.
Apply the new sealant
Cut the nozzle at an angle, slightly wider than the joint. Put the cartridge in the sealant gun and run the sealant into the joint in one smooth movement. Keep the nozzle at an angle and push the sealant into the joint rather than laying it on top. Work in lengths you can smooth within a few minutes.
Smooth the bead and remove the tape
Spray a little soapy water over the sealant and the tape. Smooth the joint with a sealant spatula in one pass and wipe the excess off the spatula. Pull the tape off straight away, carefully and at an angle away from the joint, before the sealant forms a skin.
Let it cure
Silicone forms a skin quite quickly, but it has not cured at that point. How long it takes depends on the type of sealant, the size of the joint and the temperature. Follow the curing time on the cartridge and keep the joint dry during that time. In a bathroom, that usually means not showering for at least a day.
Working safely with sealant
Work in a well-ventilated room and wear gloves. Sealant remover and mould remover can irritate skin and eyes, so wear safety glasses, and never mix bleach-based cleaners with other cleaning products. If you use a multi-tool, take the battery out before you change the blade.
Can old sealant contain asbestos?
Some older sealants and mastics contained asbestos. The UK banned asbestos in 1999, so buildings built or refurbished before 2000 may contain it, mainly in sealant around window frames and on exterior walls, and in older plant rooms. Bathroom sealant is replaced more often, so it is usually newer. If you are unsure about an old, hard sealant, have a sample tested by an accredited asbestos surveyor before you start. If it does contain asbestos, have it removed by a licensed specialist.
Common mistakes when replacing sealant
- Applying new sealant over the old bead. It does not stick properly and the mould is still underneath.
- Sealing onto a wet or greasy surface.
- Using acrylic sealant in the shower.
- Removing the tape after the sealant has skinned over, which leaves a ragged edge.
- Showering too soon, before the sealant has cured.
Frequently asked questions about replacing sealant
Can you put new sealant over old sealant?
No. New silicone does not bond well to old sealant, and mould keeps growing underneath. Always remove the old bead and the residue completely first.
How long should sealant dry before you can shower?
That depends on the sealant and the size of the joint. Check the cartridge for the curing time. As a rule of thumb, do not shower for at least a day and keep the joint dry during that time.
Which sealant is best for a bathroom?
A sanitary silicone with an added fungicide. It stays flexible and waterproof. Acrylic sealant is meant for dry joints that you want to paint.
How do you stop new sealant going mouldy again?
Make sure the joint is free of mould and fully dry before you start, and ventilate the bathroom well after showering. Wipe the joint dry now and then and clean it regularly with a mild cleaner.
In short: replacing sealant
Cut out the old sealant completely, remove the residue and any mould, let the joint dry and degrease the edges. Use sanitary silicone in wet areas, mask both sides, apply it in one movement and smooth it with soapy water and a spatula. Let it cure as directed on the cartridge, and have old, suspect sealant tested for asbestos first.